I encounter these same problems every time I set up a fresh computer – which doesn’t happen that often, that’s why I don’t have the steps in my muscle memory.
I had written this down before, but somewhere else; and since this website should become my one-and-only, definitive knowledge base (for public stuff), I now put the latest updates here.
By the way: Most of this here assumes that you’re using Microsoft Windows and Powershell!
1) Generate a SSH key pair with PuTTY
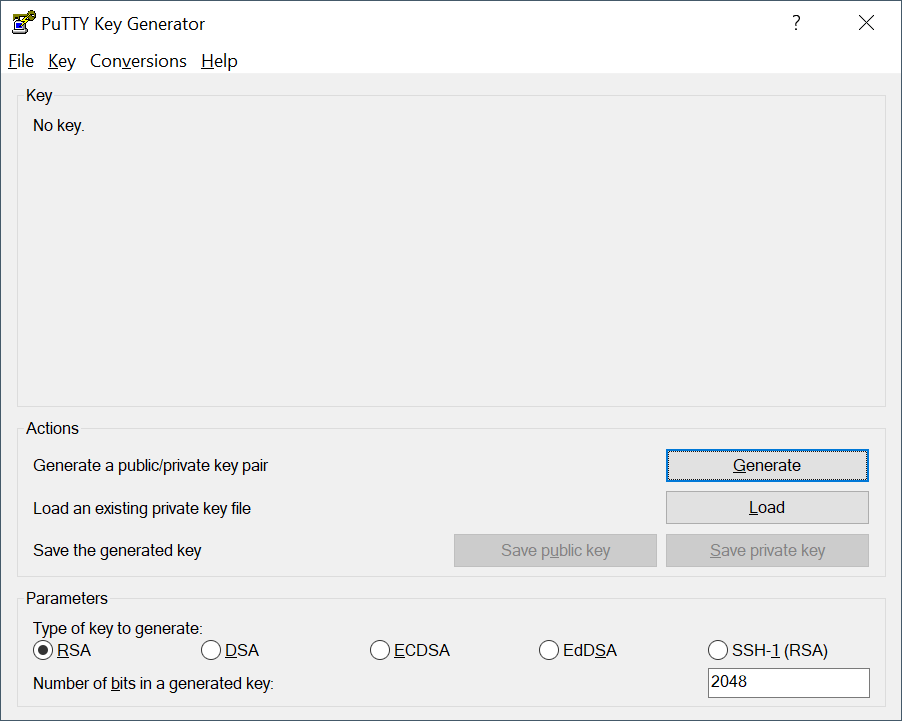
Use PuTTY’s PuTTYgen program to generate a new SSH key pair (a private and a public key) on your local computer:
-
Start PuTTYgen and choose Type: RSA and Number of bits: 2048 (for example):
-
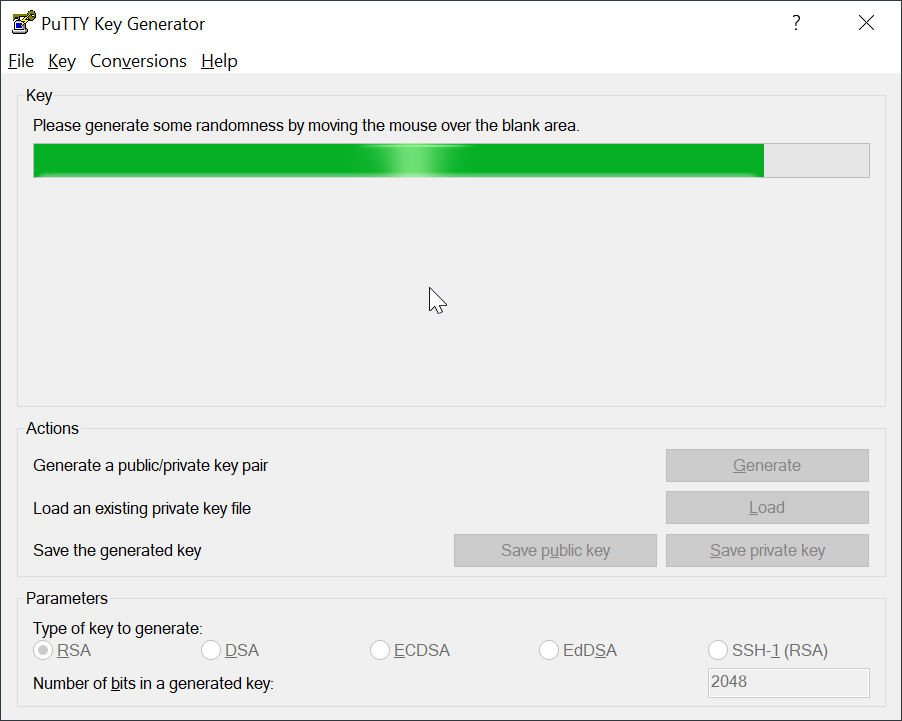
Click on the Generate button and move the mouse cursor over the blank area, until the progress bar is done:
-
Optionally type in a comment (description) for this key and finally enter and confirm a key phrase (a “password”).
Then click on Save private key (to a*.ppkfile; PuTTY’s proprietary file format).
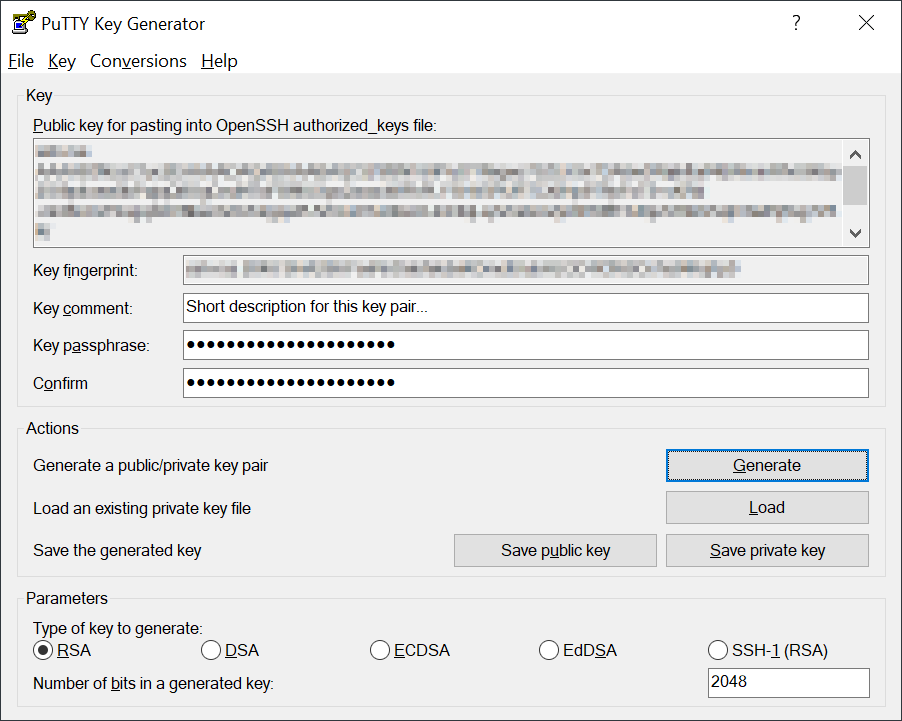
There is also Save public key (to a text file), but I don’t have good experiences with that, at least in relation with BitBucket (see next step); that’s why I usually skip it and load and copy the public key from the PPK file later, select it from there and copy-&-paste it:
Either pick Edit with PuTTYGen from the file’s context menu: … or simply Load the file from within PuTTYgen: 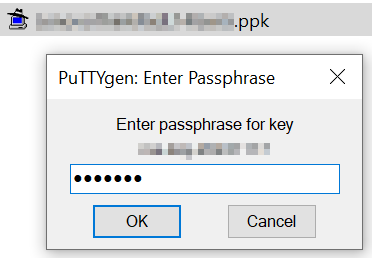


2) Add the public SSH key to your account settings on BitBucket.org
-
Log in to BitBucket.org and go to your “Personal Settings”
(by clicking on your avatar in the lower left; or by clicking on the “Settings” cog symbol on the top navigation bar; or… – as websites go, this may have changed by now.) -
Select Security 🠊 SSH keys 🠊 Add key…
Gotcha: You’ll get an Invalid Key error if you copy the Public Key out of a saved text file.
Fix: Get the public key directly from PuTTYgen (see above).
Additional infos: Provide Bitbucket Cloud with your public key.
3) Load the private SSH key automatically on each start of Windows
Use PuTTY’s Pageant to load the private SSH key automatically a the startup of Windows.
When the following steps are done, you’ll only need to enter the key’s passphrase once when Windows boots, instead of each time that Git wants to communicate with the remote repo at BitBucket.org.
-
The Startup folder is no longer reachable via Start Menu/GUI since Windows 10.
Use Run… (Win+R) instead and entershell:startup
(or open a file explorer and navigate toC:\Users\<User>\AppData\Roaming\Microsoft\Windows\Start Menu\Programs\Startup) -
Create in that folder a new shortcut to the “Pageant” executable: Right click: New 🠊 Shortcut
Edit the properties of this shorcut:- Set the target to the path where “Pageant” is installed; and provide the path to the PPK file as its command-line argument; example:
Target:"C:\Program Files\PuTTY\pageant.exe" "C:\path\to\PrivateKey.ppk" - It should start in the folder where PuTTY is installed on your system; example:
Start in:C:\Program Files\PuTTY\
- Set the target to the path where “Pageant” is installed; and provide the path to the PPK file as its command-line argument; example:

4) Fixing up
4.1) Error when trying to clone a repository: Could not read from remote repository
> git clone git@bitbucket.org:saoe/REPO-X.git

Cloning into '<REPO-X>'...
git@bitbucket.org: Permission denied (publickey).
fatal: Could not read from remote repository.

Please make sure you have the correct access rights and the repository exists.
Fix:
Tell Git for Windows that it should use PuTTY’s Plink for SSH tunneling:
Set the environment variable GIT_SSH to where it can find plink.exe (the user context is fine):
> [Environment]::SetEnvironmentVariable("GIT_SSH", "C:\Program Files\PuTTY\plink.exe", "User")
4.2) Error when trying to clone a repository: The host key is not cached for this server
> git clone git@bitbucket.org:saoe/REPO-X.git

The host key is not cached for this server:
  bitbucket.org (port 22)
You have no guarantee that the server is the computer you think it is.
[...]
Fix:
You need to acquaint plink.exe with this host by calling it one time with that URL as its argument:
> &'C:\Program Files\PuTTY\plink.exe' bitbucket.org
Confirm with ‘Y’ and leave the following “login as:” prompt empty (i.e. skip with hitting the RETURN key).
After that, it should look like this – which is fine:
Access granted. Press Return to begin session.
Server refused to allocate pty authenticated via ssh key.
You can use git to connect to Bitbucket. Shell access is disabled
Now you should be able to clone repos and commit & push changes to your remote repositories on BitBucket.org
Film & Television (54)
How To (63)
Journal (17)
Miscellaneous (4)
News & Announcements (21)
On Software (12)
Projects (26)